I should have written this article from the very beginning of starting this blog because it is one of the most fundamental configuration steps for managing a Cisco networking device (router, switch, firewall etc).
Disabling Telnet and enabling SSH on a networking device is also a step forward in increasing security in the whole network. Encrypted communication is a must nowadays, something that most professionals didn’t pay much attention a few years ago.
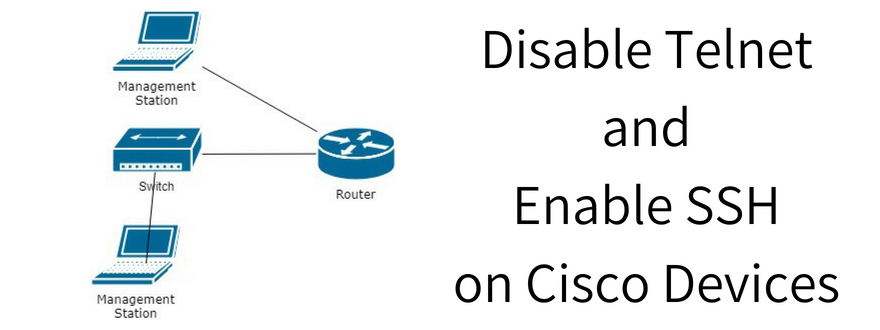
There are several ways to manage a Cisco device. Here are the most popular ones:
- Direct Console Access: Uses a special serial cable to connect directly to the console port and get a Command Line Interface(CLI) to the device.
- Telnet Access: Remote management of the device from the network. Gives authenticated Command Line access to the device but the whole communication is not encrypted.
- SSH Access: Remote management of the device form the network (just like Telnet) but the whole traffic is encrypted by the SSH protocol.
There are some more management ways (depending on the device) such as HTTPs Web access, management through an application etc, but the above 3 are the most common options.
Moreover, disabling Telnet and enabling SSH is one of the best practices suggested by the official Cisco Hardening Guide for IOS devices to secure the management plane. For a more practical guide to harden Cisco routers and switches in 10 steps have a look at our post here.
Disable Telnet on Cisco Routers/Switches
Let’s see first how to disable Telnet on a Cisco IOS device which covers both Routers and Switches.
Each Telnet access to the device (same applies with SSH as well) uses one of the VTY lines (Virtual Terminal lines).
You need to have in mind that older IOS versions (before 12.2) had 5 VTY lines (numbered 0 to 4), whereas newer IOS versions (after 12.2) have 16 VTY lines (numbered 0 to 15).
Therefore, to disable Telnet you need to do this action on all the VTY lines.
The following configuration will disable Telnet and all other remote network access:
CiscoDevice(config)# line vty 0 15 <– configure all 16 VTY lines
CiscoDevice(config-line)# transport input none <– disable Telnet and everything else
If you do the above config, the only way to connect to the router or switch is with direct console access.
Controlled Access to Telnet
Another way to control Telnet access to routers and switches is to apply an Access Control List (ACL) on the VTY lines and allow only specific management IPs to connect.
With this method you don’t disable Telnet completely but you just control access to it from management stations.
CiscoDevice(config)# enable secret strongenablepass <– first configure enable password
CiscoDevice(config)# access-list 10 permit 192.168.1.0 0.0.0.255 <– create ACL for subnet 192.168.1.0/24
CiscoDevice(config)# line vty 0 15
CiscoDevice(config-line)# access-class 10 in <– allow subnet above only to access the device via Telnet
CiscoDevice(config-line)# password strongtelnetpass <– configure password on Telnet lines
CiscoDevice(config-line)# login <– ask for Telnet password
Enable SSH on Cisco Routers/Switches
By enabling SSH and configuring this transport protocol on the VTY lines of the IOS device, it will automatically disable Telnet as well.
So lets see how to enable SSH. First you need to generate SSH keys and then enable SSH transport on VTY lines.
CiscoDevice# config terminal
CiscoDevice(config)# enable secret strongenablepass <– first configure enable password
CiscoDevice(config)# username admin password adminpass <– it’s a good practice to create local administration user (if you don’t have external AAA server)
CiscoDevice(config)# hostname NewYork
NewYork(config)# ip domain-name mycompany.com <– configuring hostname and domain name are necessary for creating SSH keys
NewYork(config)# ip ssh version 2 <– use more secure SSH v2
NewYork(config)# crypto key generate rsa modulus 2048 <– create 2048 SSH key
NewYork(config)# ip ssh time-out 60 <– self explanatory
NewYork(config)# ip ssh authentication-retries 3 <– self explanatory
NewYork(config)# line vty 0 15
NewYork(config-line)# transport input ssh <– enables SSH and disables Telnet on all VTY lines
NewYork (config-line)# login local <– use local user for authentication.
SSH requires to have a hostname and domain-name configured and also to generate SSH keys. Also, on VTY lines allow SSH protocol only which means that Telnet is disabled automatically.
Related Posts
- Cisco IOS Configuration Command Modes Explained with Examples
- Introduction to Cisco EEM (Embedded Event Manager)
- What is Cisco IOS – Overview and Description of Cisco’s Operating System
- How to Configure SNMP on Cisco Devices (Routers, Switches)
- Comparing Cisco IOS Configurations (Config Compare Tools)